Monday, December 17, 2012

Christmas Craft: Spool Garland

 
On the first day of Christmas craft week, I bring to you... a spool garland for your lovely tree.


Last year my Mom gave me a spool garland from Modcloth, I really liked it and wanted more for my tree. I saved up a scrap from each project I made this year. I kept a little cup by the sewing machine, and put a scrap in after each project was done. Now I have a spool to remember everything I made. I like my tree to have a lot of colorful, crazy stuff on it, some may even call it gaudy.

This was so easy to do, and the materials were really cheap! I got 50 wooden spools from eBay, some mixed wooden beads from Michael's, and some twine. Cut the fabric scrap to the width of the spool, dab a dot of hot glue, and wrap the scrap around the spool, glue again. Then I just made a loop at the end of the twine, strung the beads, then the spool, etc. It couldn't have been more easy! I even added some yarn from things I knitted this year. 


Here is my crazy tree!


Pin It Now!

Sunday, December 16, 2012

Christmas Craft Week


This coming week will be Christmas craft week here on the blog. I have been feeling very inspired this holiday season, and can't wait to share some projects with you!
Pin It Now!

Wednesday, December 12, 2012

House Update

We have been working really hard on our house since June, and wanted to share some before and after pictures. The house was a foreclosure property, and was severely neglected. It is a raised ranch house from 1957, and still has some of it's mid-century charm. The previous owners may have been a hoarder/drug dealers, It was scary!  Thankfully all that was left was dirt, and a whole lot of work to do.


The outside needed to be painted, trees had to be trimmed and cut down after years of neglect, and we leveled the earth and planted grass. The house is on a main road and you couldn't even notice it from the street,  now I think it stands proudly. I chose a sunny yellow door, and gray shutters to complement the roof.


The Entry:


The door is original, and one of the only things in the house I really liked, we added a peephole. There are hardwood floors thoughout the house hiding under old dirty carpet. That was really lucky.  The over sized artwork is from MYHABIT, originally from the Saturday Evening Post. The table, was free, and used to be in a mechanic's garage with car doors on top. It is in almost perfect condition, fits perfectly and I would buy the same one if I saw it in a store, I love when things work out.


 The Living Room:


Red carpets, dirty walls, scary sconces and a lovely smell are only a memory. I love this room, it's really fun. The ottomans are Missoni for target I found on clearance, and they make the best coffee table/ foot rest. The rug is from gilt group, I wish I got another one for the dining room, and the lamp is from Costco. The art over the fireplace is from our wedding, it was displayed at our wedding, it says our names, the reception location and the date, I love it's vintage vibe. This picture is a little dated because we now have curtains, but you get the idea.


The Kitchen:


 This room was disgusting. I won't even show you what was on the floor. We ripped out the range, the vent, the tile, and painted all the cabinets. We added the subway tile back splash, which I love, changed the hinges, switched to a gas range, and added a vent hood. I was inspired by my dinnerware that I love so much (previously blogged here) and went with a turquoise and yellow theme. The island was a hand me down from my aunt, which was a forest green, and the stools are from the Christmas Tree Store, that we spray painted yellow and covered with fabric. I am in love with the giant cutlery on the wall. We bought those so long ago, and stored them until we had a place together.

The Hallway: 


The Guest Room:

This was the most disgusting room, and guess what: this was the drug dealer's room. The graffiti wall, a must in every home of course, said such things as "You'll never amount to anything in life" and various girl's initials that were crossed out and rewritten. That was so hard to cover-up, he ended up just spackling the whole wall. This room is nice and dark so my husband uses it to sleep during the day (he has the night shift), so I tried to make it a little bit masculine. The duvet cover is also Missoni for Target.
 
The Sewing Room:


Here it is, the most important room in the house. Before, it had scary, dirty flocked wall paper, and carpet that used to be pink. This is a nice a bright room perfect for sewing, with a large closet for storage. We repurposed and cleaned the light from the entry, which doesn't really give off much light but looks cute. The cutting table is new, from Home Decorators, I like the size of it, but it has some drawbacks. The armoire was also my Aunt's, lucky for me she did some remodeling, and holds my yarn/fabric stash. The setup works really well for me and I am finishing projects faster in my new workspace.

 You have already seen the master bedroom, so apart from the dining room, which I will show you next week with my Christmas decorations, that's pretty much it.

We had a ton of help from our family and friends, and are so grateful to all of them. As my Mom says we turned this "crackhouse" into a "dollhouse". Thanks for looking!


Pin It Now!

Friday, December 7, 2012

Traffic Cone Pencil Skirt


Here it is, my second project from Gertie's New Book for Better Sewing. I love this pencil skirt, I love how it fits, and I love that when I put my arms up, I look like a safety cone. For this classic skirt I used some orange wool with a nubby texture and matching rayon bemberg lining. This is another great pattern from Gertie's book. I cut a size 10 and amazingly it did not require any fitting, just a lot of hemming, it wasn't so flattering practically hitting my ankle bone.

Once again I followed all the instructions carefully, and had amazing results. I even added spiral steel boning to the waistband, something I would skip normally. I am really glad I took this extra step, the waistband has structure, and it is surprisingly comfortable. The hardest part is cutting the boning to size, I always struggle with it, so my husband did it for me. I can never get the caps to stay on!

I think all these extra vintage sewing tips really make a difference in the final product for me. I am taking my time, hand stitching, and the results are fantastic. I can't decide what to make next from this gem of a book, I think the wiggle dress, or maybe the shirtwaist dress...


Pin It Now!

Monday, November 26, 2012

Portrait Blouse

 
This is my first project from the new book Gertie's New Book for Better Sewing. Needless to say, I love this book. I love the illustrations, I love the projects, I love all the vintage sewing tips, I just love it all.
 
For this project, the portrait blouse, I followed all of the instructions and suggestions implicitly, and it really made a difference in the final product. I used a silk print I had from Mood, silk organza for the facings, and hand -overcast the the seams. I made a straight size 10, the only adjustments was to add 3 inches to the length, but left the length of the tucks in place, and add some more space for the armholes. The zipper length was adjusted to 12", and I did a hand picked lapped zipper as instructed.
 
This is a really versatile blouse, and a really good staple for a wardrobe. I have a million cardigans and skirts I can wear it with, even with jeans. I'm already plotting another version, with some stashed fabric. It will have to wait because I'm ready to make the pencil skirt from the book next!
 
 
Hidden lapped zipper


Pin It Now!

Thursday, November 15, 2012

Tufted Headboard DIY


There are a lot of headboard diy's out there on pinterest but I never found one that was detailed enough for me. I wanted something that was sturdy, like something that your could buy in the store. Hanging it on the wall like a picture, which is one of the suggestions, was not an option. I wanted something tall, that would show when then bed is made, and a floral pattern, which was impossible to find. So, we decided to build one from scratch!

Materials:
2.5 yards of home dec fabric (I got mine at fabric.com for $5 a yard, enough to do curtains too)
batting
upholstery foam
covered buttons (I sent mine out to be made at Pat's Custom Buttons and Belts)
zip ties
upholstery thread
upholstery needle/ darning needle
staple gun
drill


My hubby made the base using a piece of plywood and 2 x 4's.
The headboard measures 40" high and 60" wide to fit the queen size bed.

This is the front, the 2x4's in the back will make it easier to staple the batting


The green foam is from Joann's, it's the thin, cheap one. It wasn't wide enough for the headboard so I sewed 2 pieces together.
Staple green foam to board

Cover green foam with batting, and staple


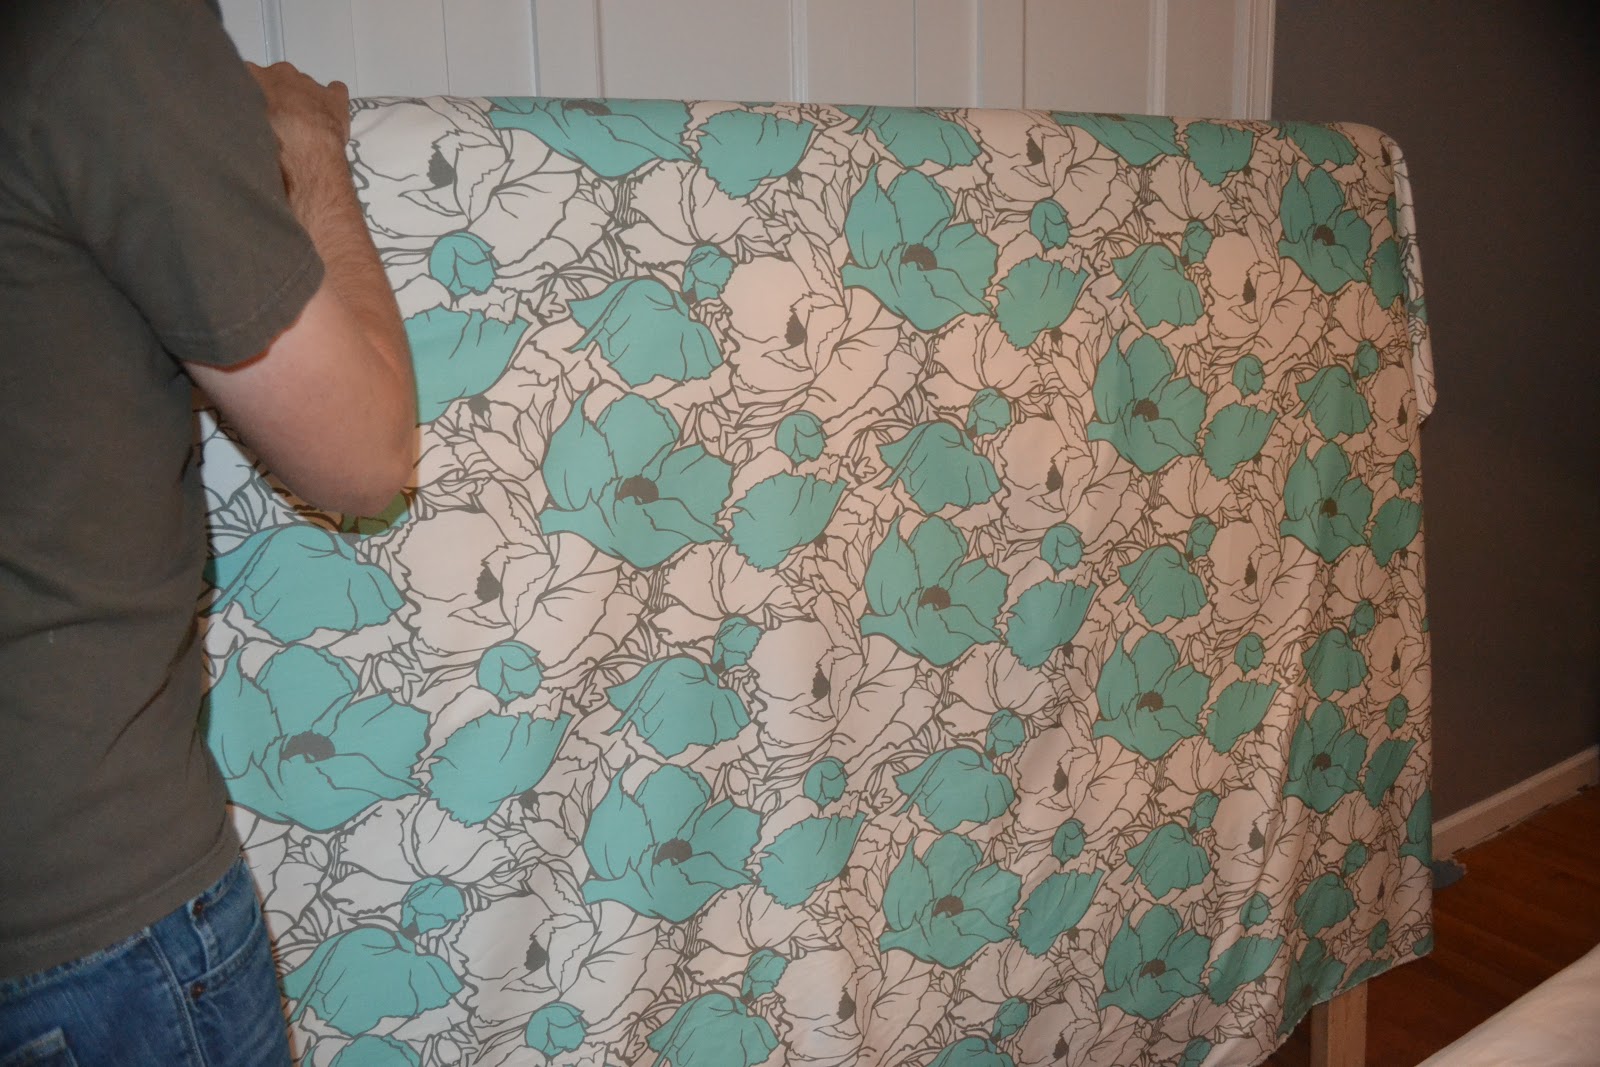
Drape the fabric over the headboard, and make sure it is straight. This is when I decided on the button placement and drilled holes in the wood, but you could do this earlier.


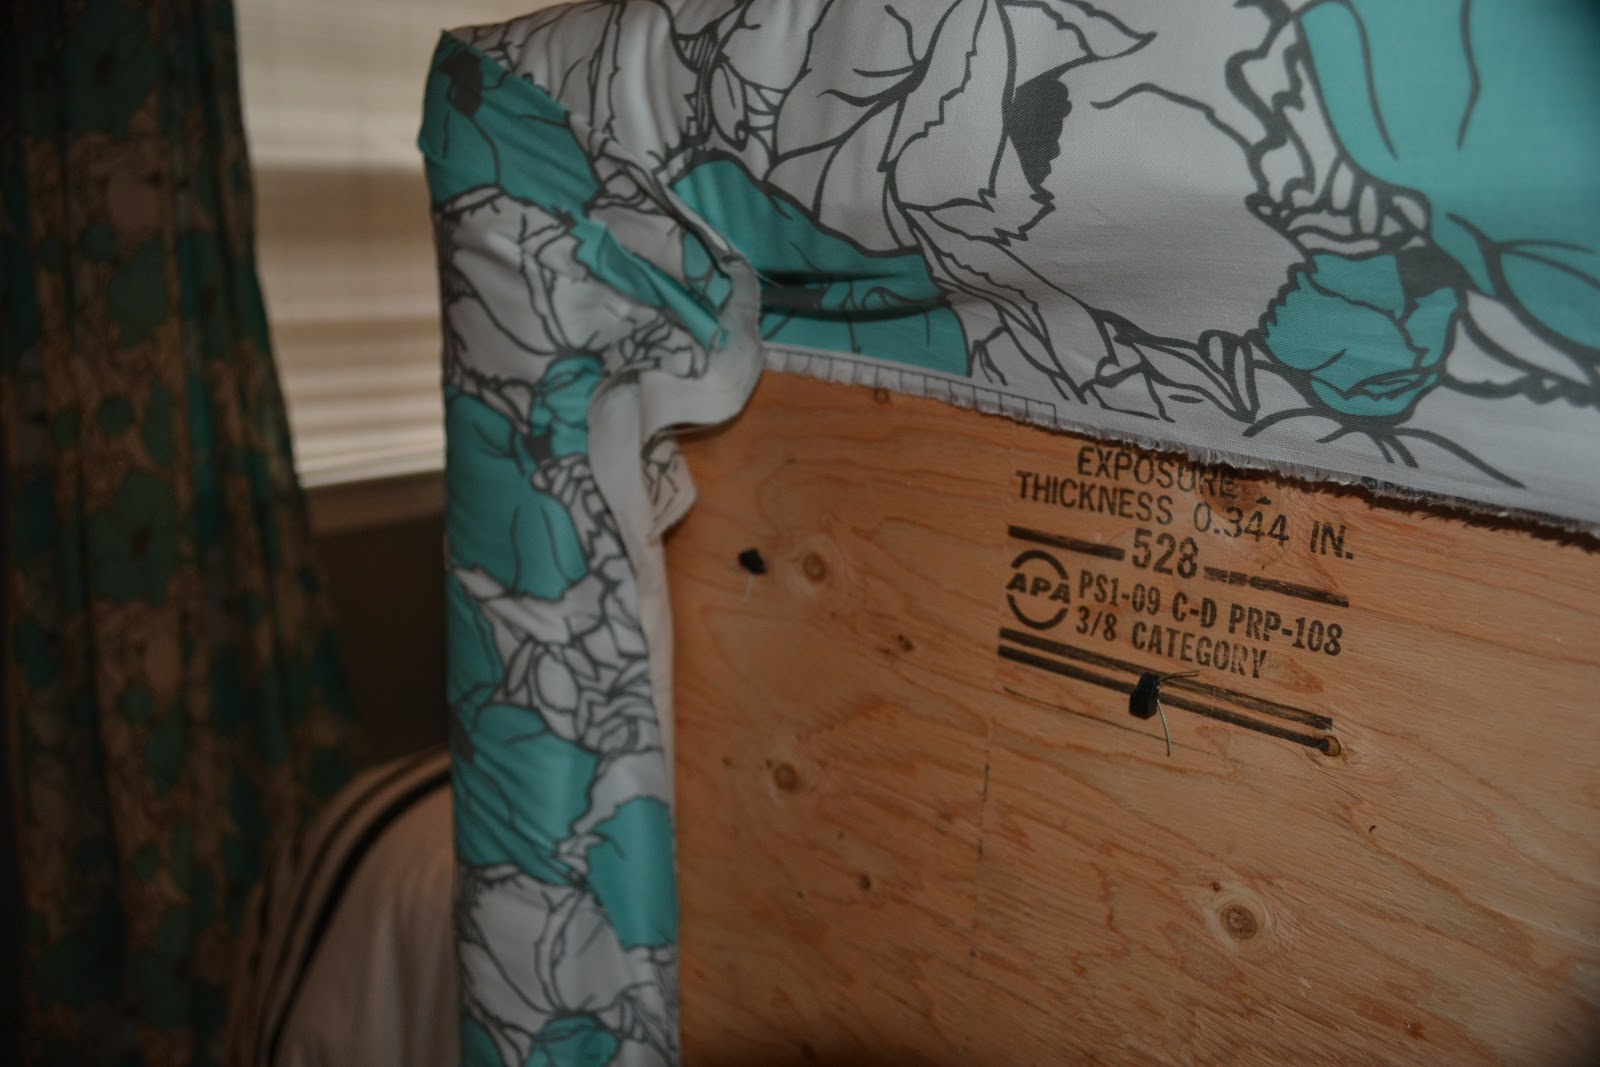
Thread the button through the drilled hole, pull it tight, start a knot in the back, and place a zip tie through the knot, cut off excess zip tie. Continue this for all the buttonholes and make sure you make the buttons consistently taught.


I chose to do one row of tufted buttons for a clean look, it would be easy to add more, just drill more holes!
 
 
Staple, watch for wrinkles and fold the corners, so it doesn't show in the front


Drill holes in the legs, so the bed can be bolted to the bed frame


Viola! Headboard magic. I also made curtains to match. The room looks plush, and custom, on a budget. The foam and batting cost the most money, joann's coupons didn't cover all of it, half the budget went towards that. In total it cost about $150, and was super quick to make. The Mr&Mrs bedding is Kate Spade from bed bath & beyond and I snatched it up the first day it was on clearance. This is just one of the projects I've been working on for our new home. It's fun to do these things but I can't wait to get back to sewing for myself!
 
Pin It Now!