Friday, December 7, 2012

Traffic Cone Pencil Skirt


Here it is, my second project from Gertie's New Book for Better Sewing. I love this pencil skirt, I love how it fits, and I love that when I put my arms up, I look like a safety cone. For this classic skirt I used some orange wool with a nubby texture and matching rayon bemberg lining. This is another great pattern from Gertie's book. I cut a size 10 and amazingly it did not require any fitting, just a lot of hemming, it wasn't so flattering practically hitting my ankle bone.

Once again I followed all the instructions carefully, and had amazing results. I even added spiral steel boning to the waistband, something I would skip normally. I am really glad I took this extra step, the waistband has structure, and it is surprisingly comfortable. The hardest part is cutting the boning to size, I always struggle with it, so my husband did it for me. I can never get the caps to stay on!

I think all these extra vintage sewing tips really make a difference in the final product for me. I am taking my time, hand stitching, and the results are fantastic. I can't decide what to make next from this gem of a book, I think the wiggle dress, or maybe the shirtwaist dress...


Pin It Now!

Monday, November 26, 2012

Portrait Blouse

 
This is my first project from the new book Gertie's New Book for Better Sewing. Needless to say, I love this book. I love the illustrations, I love the projects, I love all the vintage sewing tips, I just love it all.
 
For this project, the portrait blouse, I followed all of the instructions and suggestions implicitly, and it really made a difference in the final product. I used a silk print I had from Mood, silk organza for the facings, and hand -overcast the the seams. I made a straight size 10, the only adjustments was to add 3 inches to the length, but left the length of the tucks in place, and add some more space for the armholes. The zipper length was adjusted to 12", and I did a hand picked lapped zipper as instructed.
 
This is a really versatile blouse, and a really good staple for a wardrobe. I have a million cardigans and skirts I can wear it with, even with jeans. I'm already plotting another version, with some stashed fabric. It will have to wait because I'm ready to make the pencil skirt from the book next!
 
 
Hidden lapped zipper


Pin It Now!

Thursday, November 15, 2012

Tufted Headboard DIY


There are a lot of headboard diy's out there on pinterest but I never found one that was detailed enough for me. I wanted something that was sturdy, like something that your could buy in the store. Hanging it on the wall like a picture, which is one of the suggestions, was not an option. I wanted something tall, that would show when then bed is made, and a floral pattern, which was impossible to find. So, we decided to build one from scratch!

Materials:
2.5 yards of home dec fabric (I got mine at fabric.com for $5 a yard, enough to do curtains too)
batting
upholstery foam
covered buttons (I sent mine out to be made at Pat's Custom Buttons and Belts)
zip ties
upholstery thread
upholstery needle/ darning needle
staple gun
drill


My hubby made the base using a piece of plywood and 2 x 4's.
The headboard measures 40" high and 60" wide to fit the queen size bed.

This is the front, the 2x4's in the back will make it easier to staple the batting


The green foam is from Joann's, it's the thin, cheap one. It wasn't wide enough for the headboard so I sewed 2 pieces together.
Staple green foam to board

Cover green foam with batting, and staple


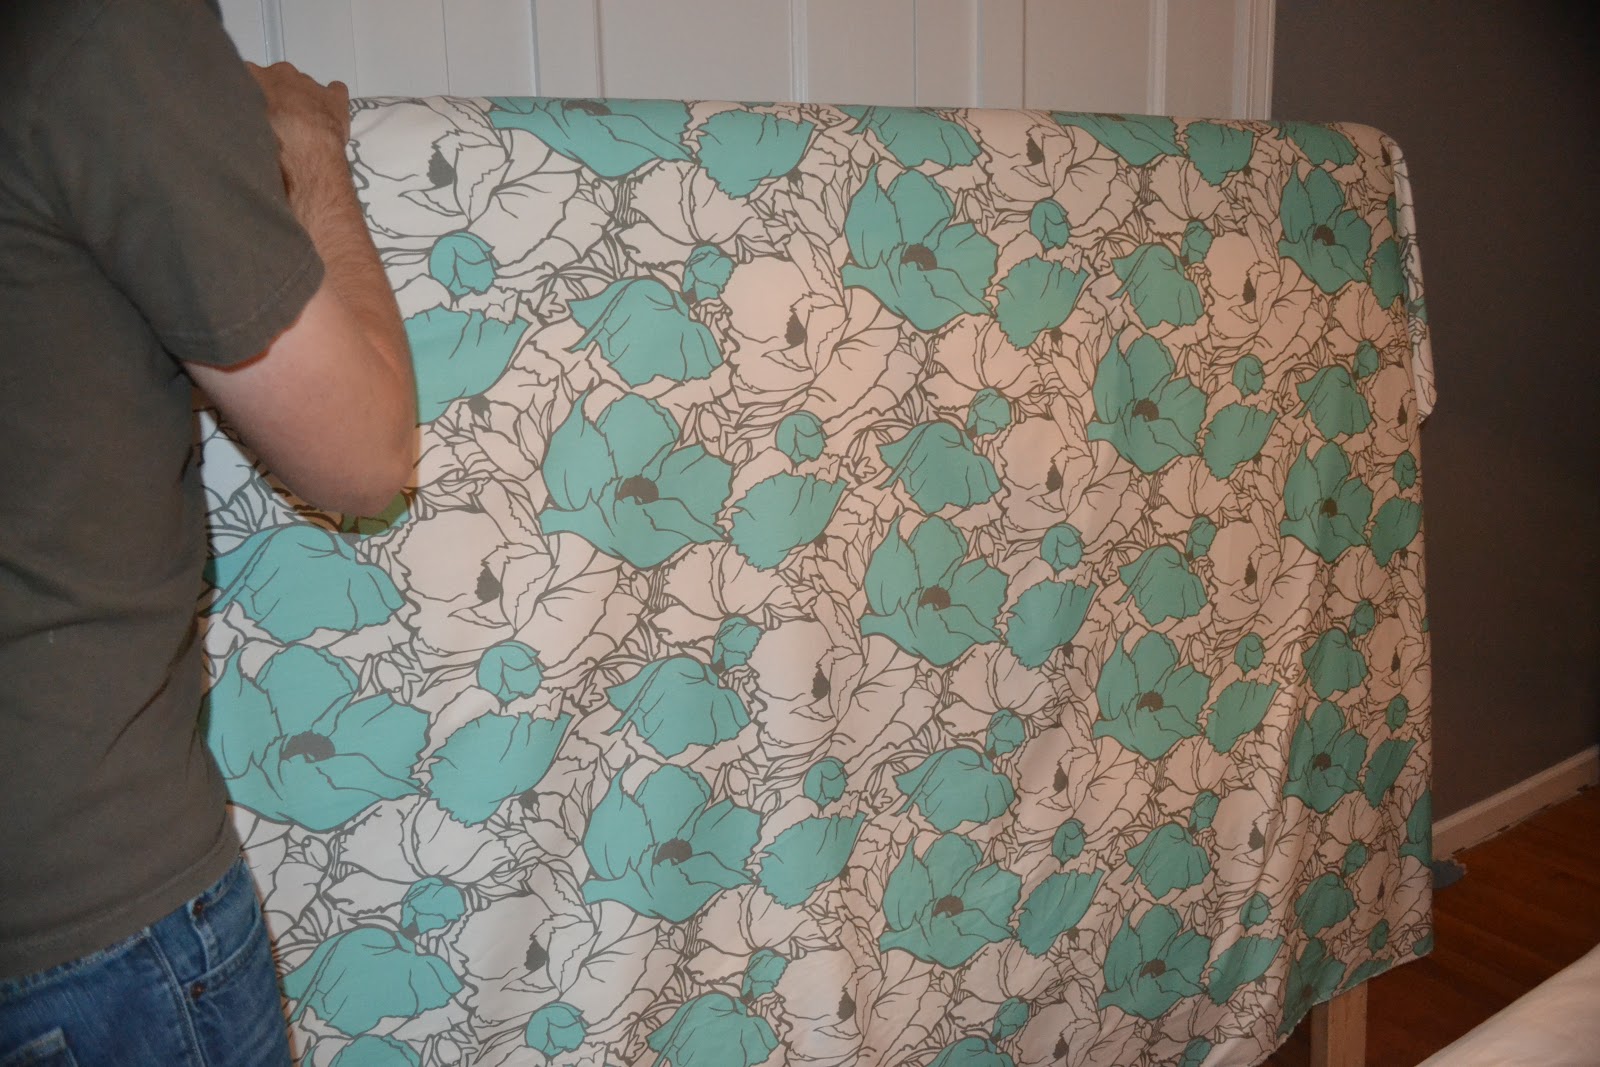
Drape the fabric over the headboard, and make sure it is straight. This is when I decided on the button placement and drilled holes in the wood, but you could do this earlier.


Thread the button through the drilled hole, pull it tight, start a knot in the back, and place a zip tie through the knot, cut off excess zip tie. Continue this for all the buttonholes and make sure you make the buttons consistently taught.


I chose to do one row of tufted buttons for a clean look, it would be easy to add more, just drill more holes!
 
 
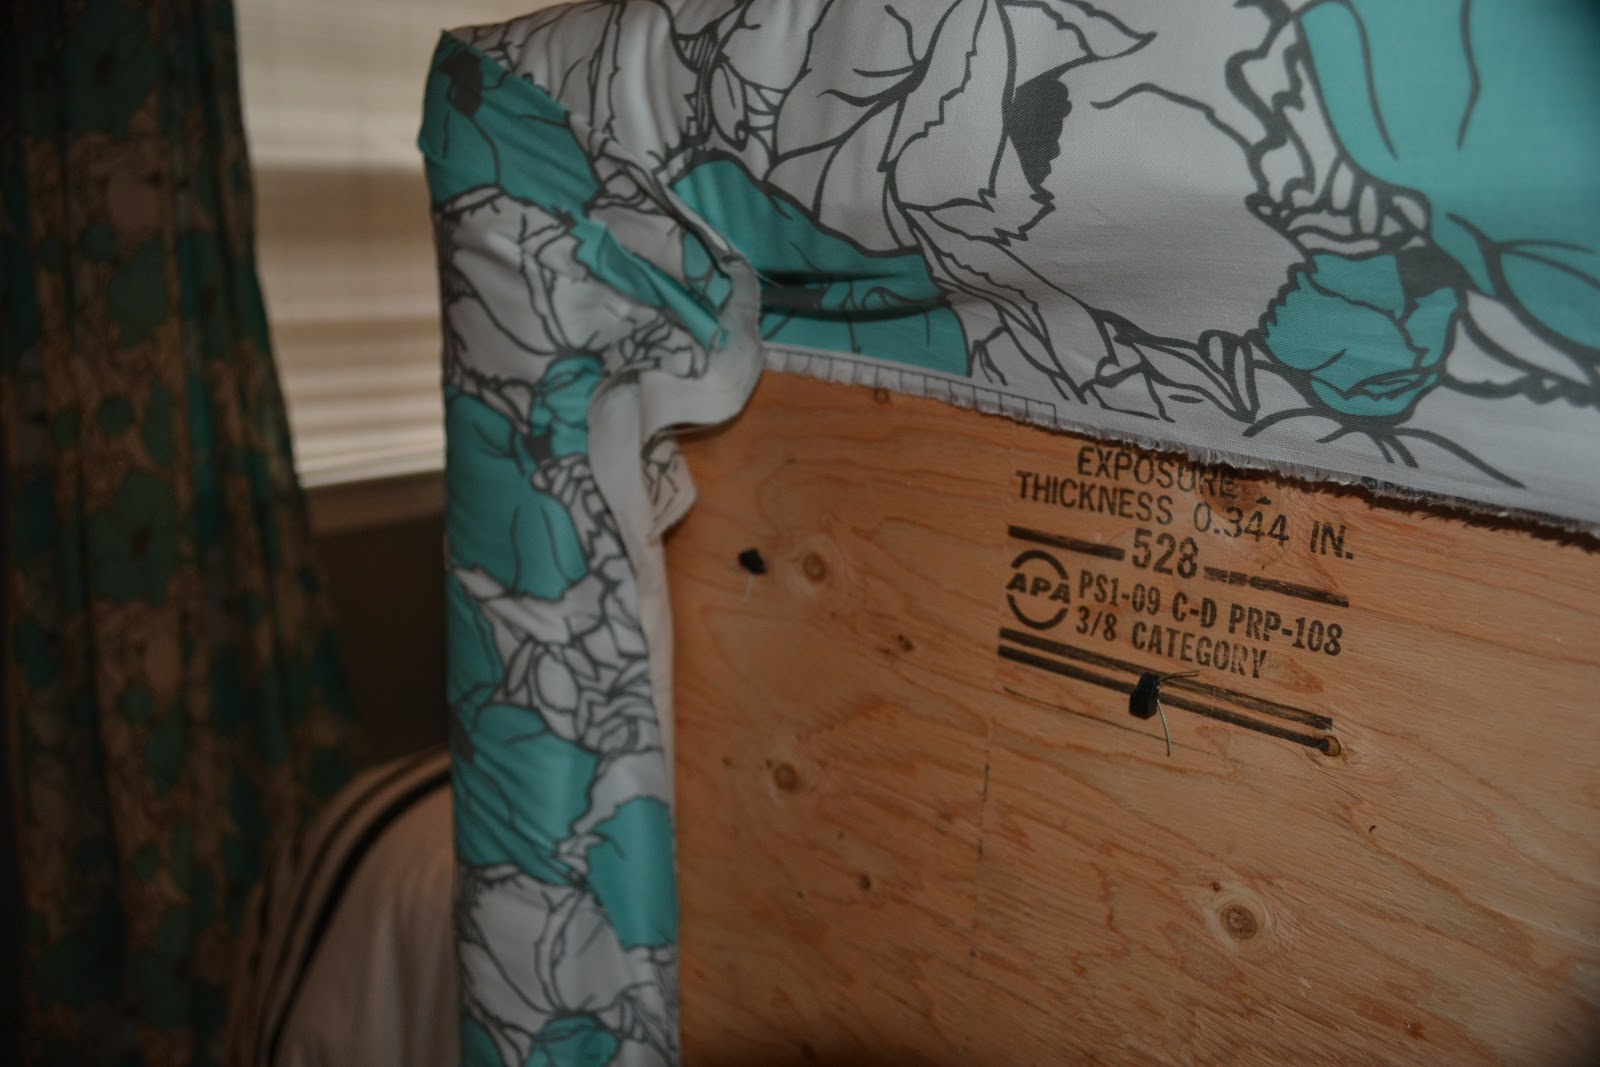
Staple, watch for wrinkles and fold the corners, so it doesn't show in the front


Drill holes in the legs, so the bed can be bolted to the bed frame


Viola! Headboard magic. I also made curtains to match. The room looks plush, and custom, on a budget. The foam and batting cost the most money, joann's coupons didn't cover all of it, half the budget went towards that. In total it cost about $150, and was super quick to make. The Mr&Mrs bedding is Kate Spade from bed bath & beyond and I snatched it up the first day it was on clearance. This is just one of the projects I've been working on for our new home. It's fun to do these things but I can't wait to get back to sewing for myself!
 
Pin It Now!

Wednesday, October 24, 2012

I'm a Mrs!

Photographer :Christopher Lane


I'm back! I got married over a month ago, and finally back in the swing of things. We had the most beautiful, perfect, and fun day. And now I can show you my dress! You may remember that I won my wedding gown from my favorite designer Amsale.

I was lucky enough to go to the New York showroom, and pick out exactly what I wanted. My dress is Amsale Cagney, from the Spring 2011 collection. It is a beautiful shimmery jacquard fabric, with a sweetheart neckline and a oversized broach and bow and the waist. I love it so much. My veil is also from Amsale and it is a cathedral length veil with white piping around the edges. It was very dramatic.

Doesn't my Mom look gorgeous? I loved her dress too!

If you follow me on twitter or instagram (erikamadeit) you may have seen some pictures from our honeymoon in Italy. I wore a lot of my handmade dresses. It was the best trip ever. We are now happy to be in our new home, and getting back to normal.


Our getaway car! Happened to match the girl's dresses.
 
 
My Brother and I

 
Thanks for looking! If you wanna see more you can check out my shutterfly album.
Pin It Now!

Friday, September 14, 2012

I'm Getting Married Tomorrow!

This last couple of months has been a whirlwind of craziness. I haven't sewn anything in over 2 months! I'm sure you all understand because tomorrow is my wedding day! I'm a little nervous, and not really sure why. Anyway, I thought I would share a little sneak peek into some of the details from my big day!


The invitations are letterpress, and have a gorgeous hydrangea, I just love them. I LOVE the stationary store we used. Cambridge Street Papers in Madison, NJ were so helpful and had such an amazing selection, they made everything so much fun!


We also got this personalized stationary from Cambridge Street, so cute!
 
 
These are the welcome gifts we put together for the hotel guests. They are gable boxes, with adorable bows my Aunt helped with. The artwork with our faces is from a shop on etsy: lilimandrill. She made a custom stamp for us, and I used the proof she emailed me for a different things with the wedding. It really does look like us!
 
 
We used it on the favors too. They are little bottles of flavored olive oil. Meyer lemon or basil...yummm. They are from Carter and Cavero in Summit, NJ.
 
 
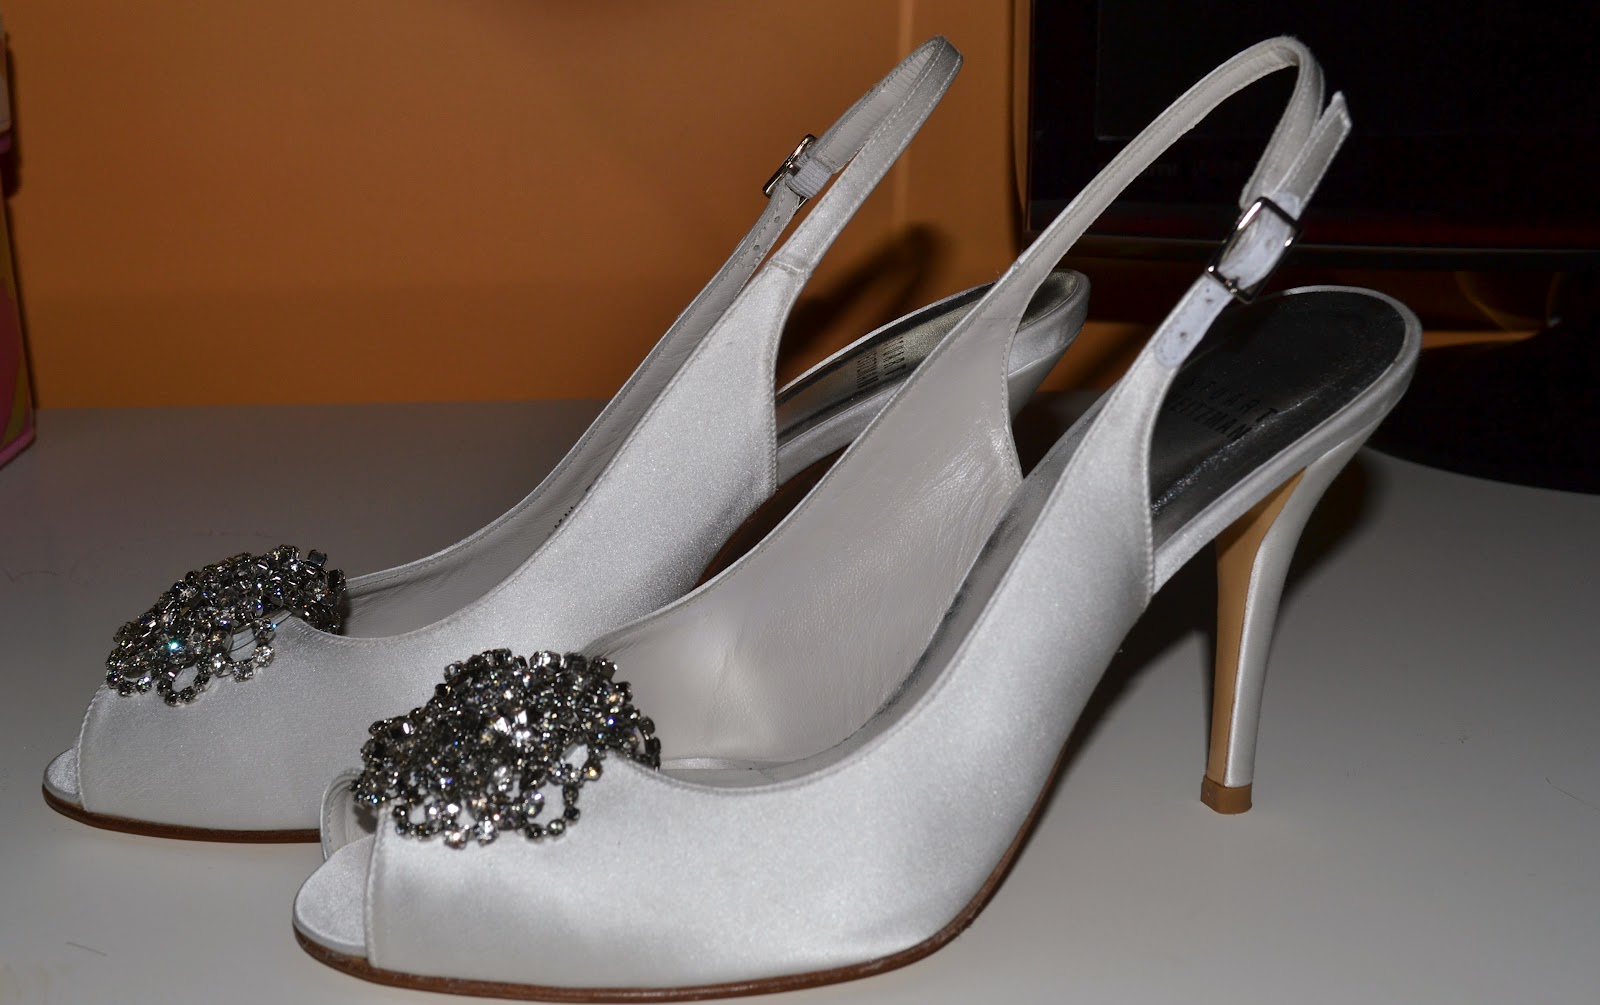
And finally for your viewing pleasure...MY SHOES!! Love them. They have been on display in the china cabinet for months, just so I could look at them everyday and not get them dirty.
 
Ok that's all I can show you for now. The day after the wedding we are off on our honeymoon, and I'll post something new in October. Wish me luck!
Pin It Now!

Monday, August 6, 2012

Sew in Love Bridal Shower

A few weeks ago my Bridesmaids threw me a sewing themed bridal shower! It was a gorgerous day, with so many special details and I am such a lucky girl. I have posted a few of the pictures from the day, but to see the whole story check out my Maid of Honor's blog: Verbena Knits to see more about the day.  


Pin It Now!

Tuesday, July 17, 2012

Where Have I Been??!!


I bought a house!! It needs a lot of work, so I haven't had any time to sew. But a new house means.... a new sewing room!! Below is the before. Yes that is some dirty, flocked wallpaper. Right now my sewing area is in the finished basement of my family home. I can't wait to sew above ground! It is a fairly big room, with a large closet and two windows. I can't wait to finish it and show you all. Well it's back to work for me. Hopefully next week I can do some sewing and do something fun.

Pin It Now!