

There are a lot of headboard diy's out there on pinterest but I never found one that was detailed enough for me. I wanted something that was sturdy, like something that your could buy in the store. Hanging it on the wall like a picture, which is one of the suggestions, was not an option. I wanted something tall, that would show when then bed is made, and a floral pattern, which was impossible to find. So, we decided to build one from scratch!
Materials:
2.5 yards of home dec fabric (I got mine at fabric.com for $5 a yard, enough to do curtains too)
batting
upholstery foam
covered buttons (I sent mine out to be made at Pat's Custom Buttons and Belts)
zip ties
upholstery thread
upholstery needle/ darning needle
staple gun
drill
 |
| My hubby made the base using a piece of plywood and 2 x 4's. The headboard measures 40" high and 60" wide to fit the queen size bed. |
 |
| This is the front, the 2x4's in the back will make it easier to staple the batting |
 |
| The green foam is from Joann's, it's the thin, cheap one. It wasn't wide enough for the headboard so I sewed 2 pieces together. |
 |
| Staple green foam to board |
 |
| Cover green foam with batting, and staple |
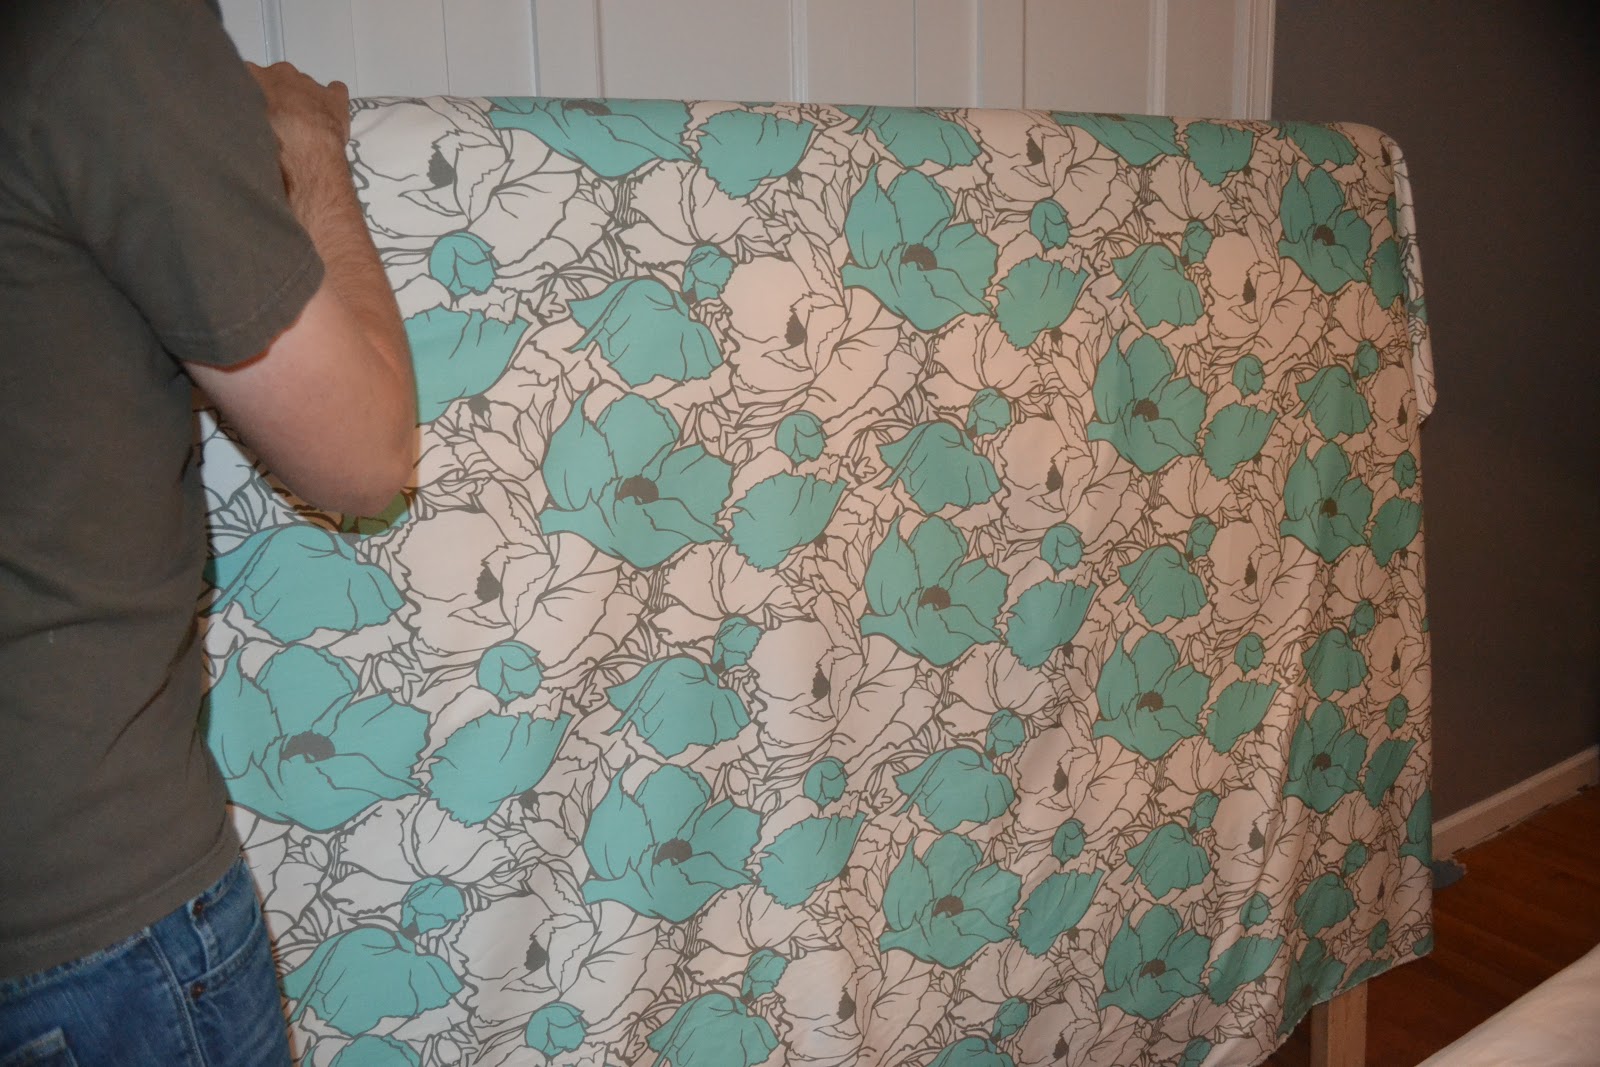 |
| Drape the fabric over the headboard, and make sure it is straight. This is when I decided on the button placement and drilled holes in the wood, but you could do this earlier. |
 |
| Thread the button through the drilled hole, pull it tight, start a knot in the back, and place a zip tie through the knot, cut off excess zip tie. Continue this for all the buttonholes and make sure you make the buttons consistently taught. |
 |
| I chose to do one row of tufted buttons for a clean look, it would be easy to add more, just drill more holes! |
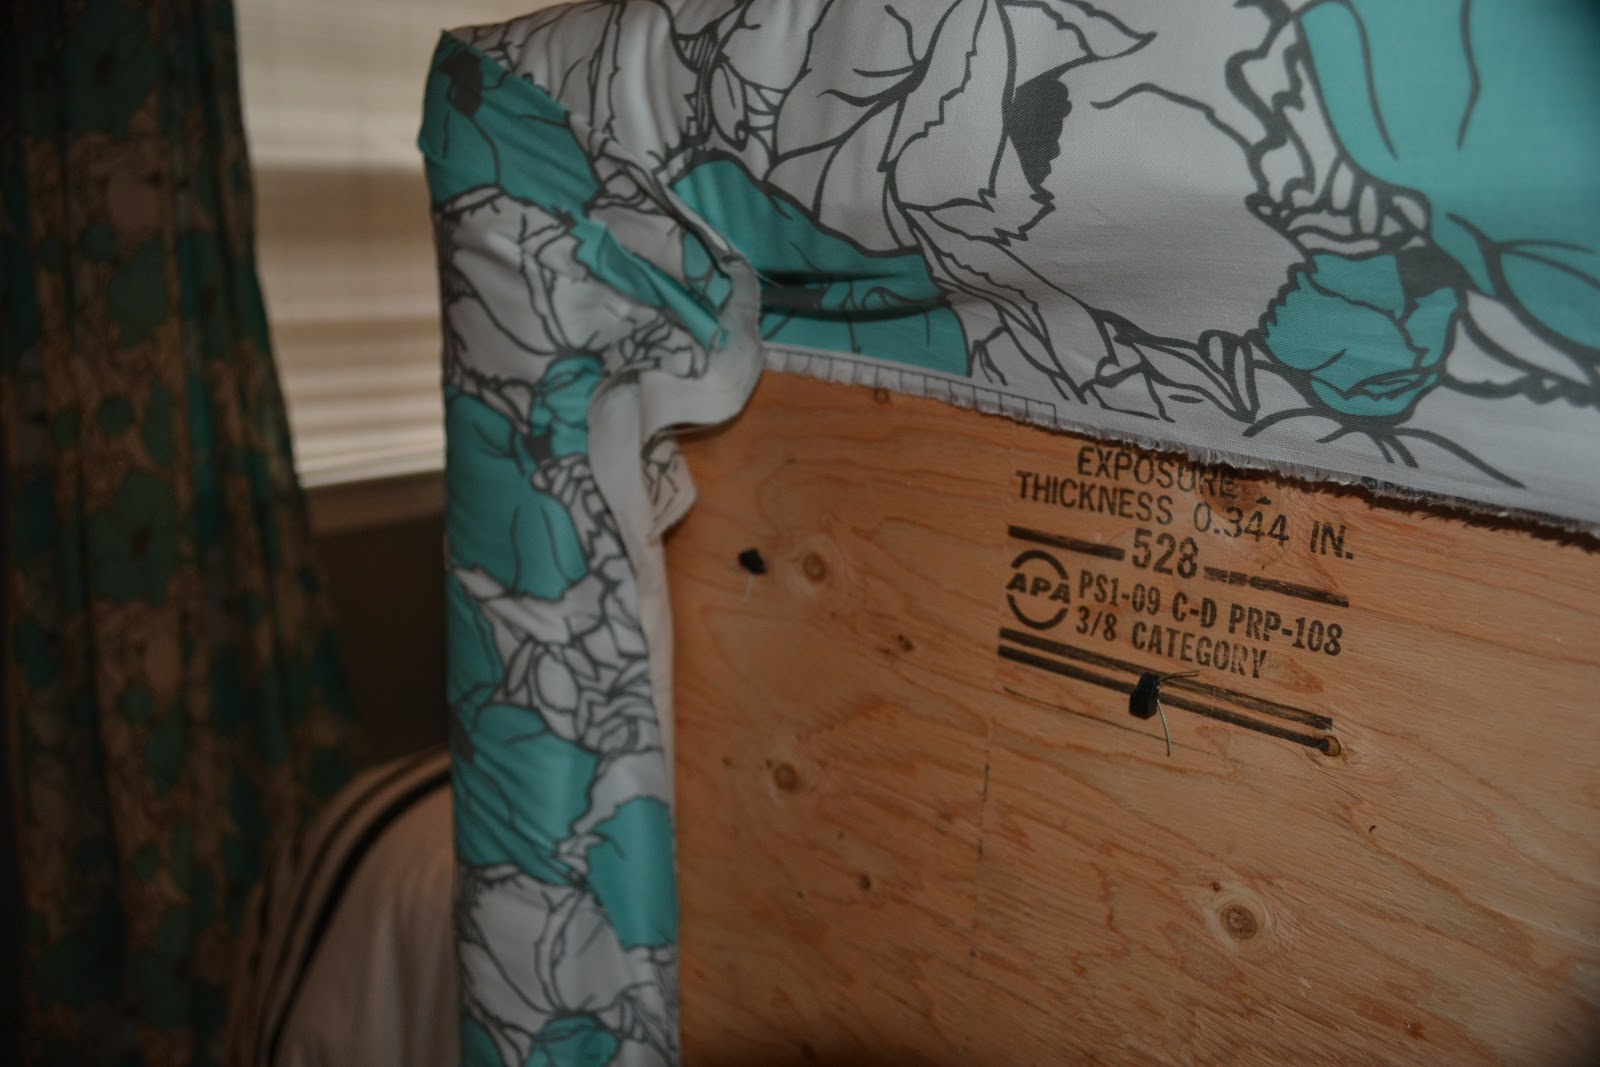 |
| Staple, watch for wrinkles and fold the corners, so it doesn't show in the front |

 |
| Drill holes in the legs, so the bed can be bolted to the bed frame |


Viola! Headboard magic. I also made curtains to match. The room looks plush, and custom, on a budget. The foam and batting cost the most money, joann's coupons didn't cover all of it, half the budget went towards that. In total it cost about $150, and was super quick to make. The Mr&Mrs bedding is Kate Spade from bed bath & beyond and I snatched it up the first day it was on clearance. This is just one of the projects I've been working on for our new home. It's fun to do these things but I can't wait to get back to sewing for myself!


