Monday, November 26, 2012

Portrait Blouse

 
This is my first project from the new book Gertie's New Book for Better Sewing. Needless to say, I love this book. I love the illustrations, I love the projects, I love all the vintage sewing tips, I just love it all.
 
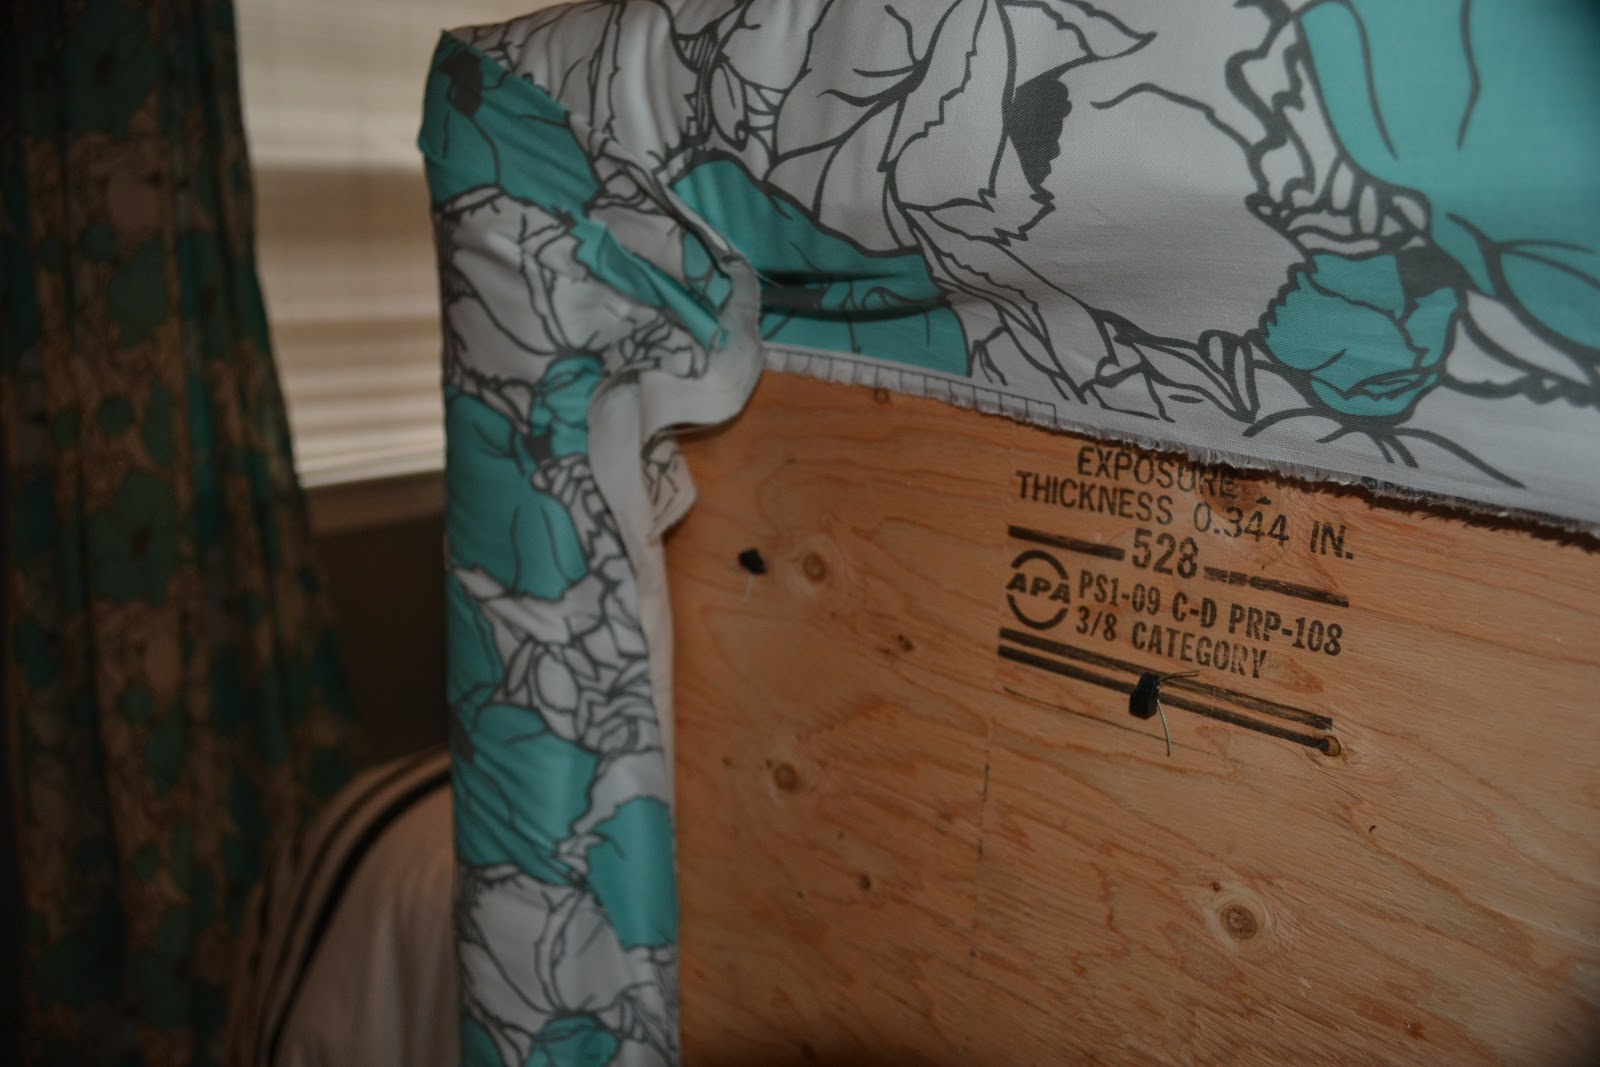
For this project, the portrait blouse, I followed all of the instructions and suggestions implicitly, and it really made a difference in the final product. I used a silk print I had from Mood, silk organza for the facings, and hand -overcast the the seams. I made a straight size 10, the only adjustments was to add 3 inches to the length, but left the length of the tucks in place, and add some more space for the armholes. The zipper length was adjusted to 12", and I did a hand picked lapped zipper as instructed.
 
This is a really versatile blouse, and a really good staple for a wardrobe. I have a million cardigans and skirts I can wear it with, even with jeans. I'm already plotting another version, with some stashed fabric. It will have to wait because I'm ready to make the pencil skirt from the book next!
 
 
Hidden lapped zipper


Pin It Now!

Thursday, November 15, 2012

Tufted Headboard DIY


There are a lot of headboard diy's out there on pinterest but I never found one that was detailed enough for me. I wanted something that was sturdy, like something that your could buy in the store. Hanging it on the wall like a picture, which is one of the suggestions, was not an option. I wanted something tall, that would show when then bed is made, and a floral pattern, which was impossible to find. So, we decided to build one from scratch!

Materials:
2.5 yards of home dec fabric (I got mine at fabric.com for $5 a yard, enough to do curtains too)
batting
upholstery foam
covered buttons (I sent mine out to be made at Pat's Custom Buttons and Belts)
zip ties
upholstery thread
upholstery needle/ darning needle
staple gun
drill


My hubby made the base using a piece of plywood and 2 x 4's.
The headboard measures 40" high and 60" wide to fit the queen size bed.

This is the front, the 2x4's in the back will make it easier to staple the batting


The green foam is from Joann's, it's the thin, cheap one. It wasn't wide enough for the headboard so I sewed 2 pieces together.
Staple green foam to board

Cover green foam with batting, and staple


Drape the fabric over the headboard, and make sure it is straight. This is when I decided on the button placement and drilled holes in the wood, but you could do this earlier.


Thread the button through the drilled hole, pull it tight, start a knot in the back, and place a zip tie through the knot, cut off excess zip tie. Continue this for all the buttonholes and make sure you make the buttons consistently taught.


I chose to do one row of tufted buttons for a clean look, it would be easy to add more, just drill more holes!
 
 
Staple, watch for wrinkles and fold the corners, so it doesn't show in the front


Drill holes in the legs, so the bed can be bolted to the bed frame


Viola! Headboard magic. I also made curtains to match. The room looks plush, and custom, on a budget. The foam and batting cost the most money, joann's coupons didn't cover all of it, half the budget went towards that. In total it cost about $150, and was super quick to make. The Mr&Mrs bedding is Kate Spade from bed bath & beyond and I snatched it up the first day it was on clearance. This is just one of the projects I've been working on for our new home. It's fun to do these things but I can't wait to get back to sewing for myself!
 
Pin It Now!